
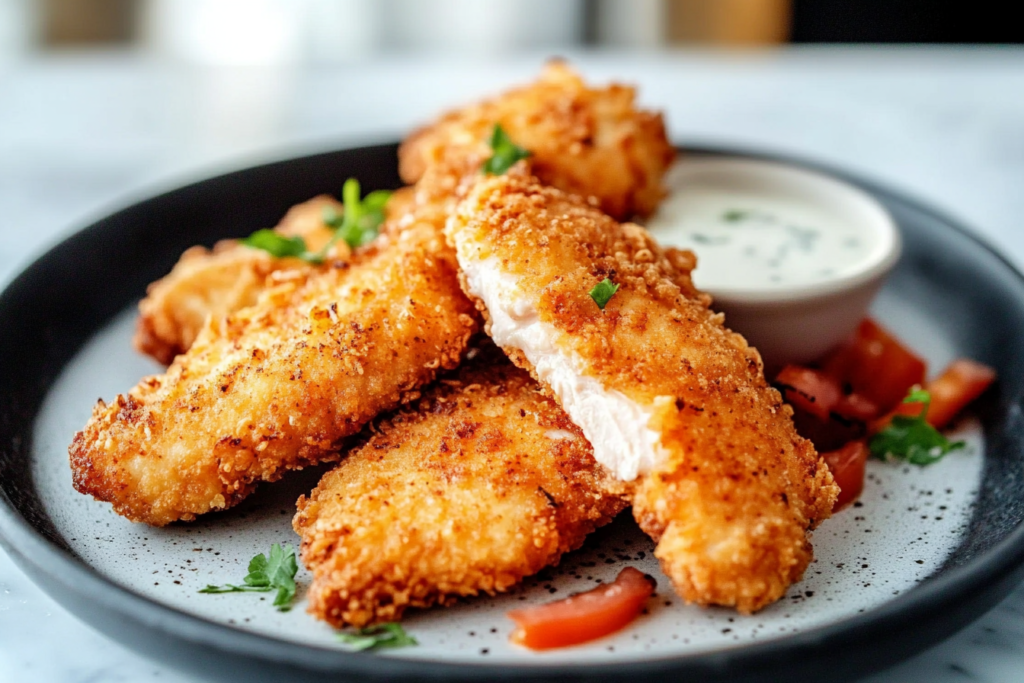
There’s nothing quite like biting into perfectly crispy fried chicken tenders — golden, crunchy coating on the outside and juicy, flavorful chicken on the inside. Whether it’s a family dinner, weekend treat, or crowd-pleasing appetizer, this recipe brings comfort food to a whole new level.
These chicken tenders are made with real ingredients and a simple, fail-proof method. We’ll guide you through the entire process — from choosing the best chicken to seasoning, breading, and frying — all while keeping it beginner-friendly. No mystery ingredients, no shortcuts on flavor.
Why You’ll Love This crispy fried chicken tenders
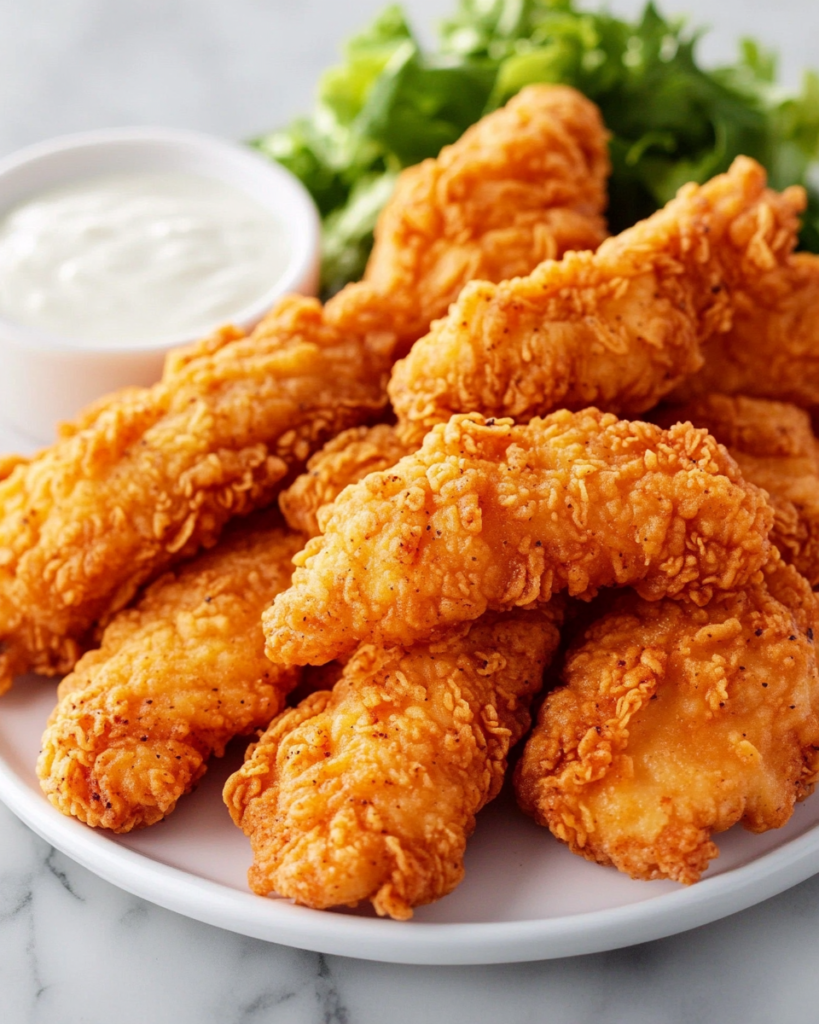
These crispy chicken tenders check every box: flavorful, crunchy, juicy, and easy to make at home. Unlike fast-food versions, you control the ingredients, seasoning, and cooking method — no preservatives or deep fryer needed.
What makes them truly special is the marinade — a buttermilk blend that keeps the chicken tender and full of flavor. The seasoned flour adds a bold, savory crunch that locks in the juiciness. Every bite is crave-worthy.
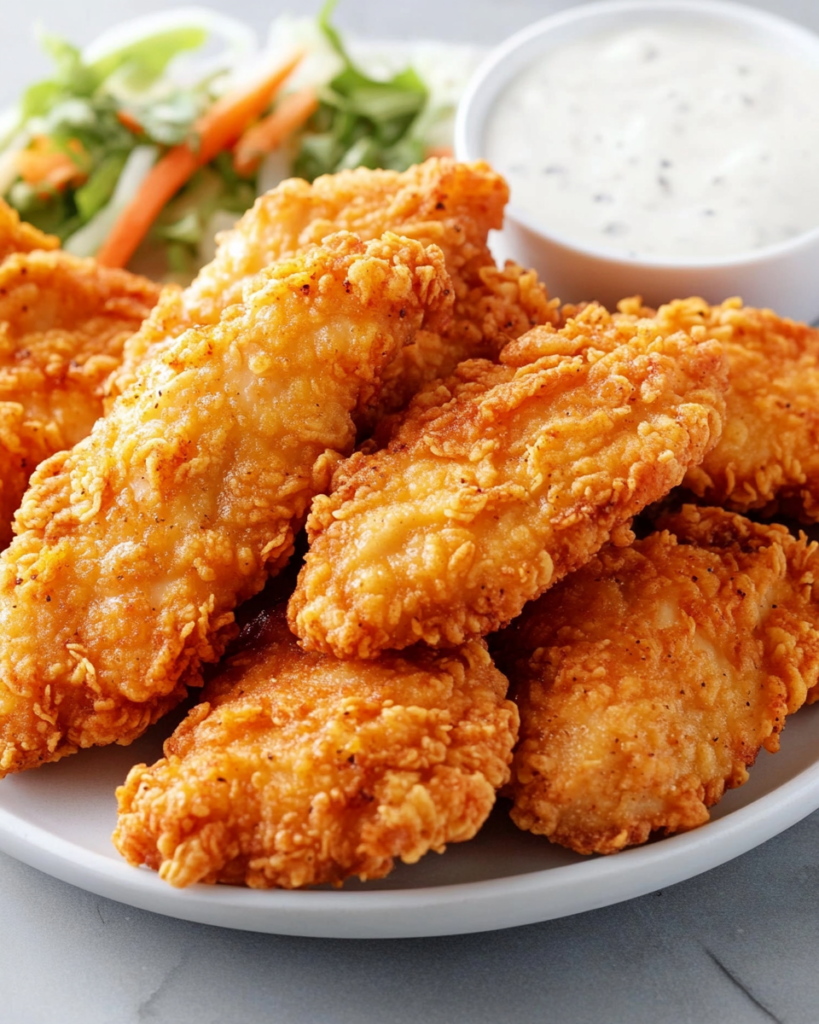
They’re also super versatile. Serve with mashed potatoes, fries, in wraps, or as a party appetizer with dipping sauces. Kids love them, adults devour them — they’re the kind of dish everyone asks for again.
Plus, if you’re watching calories, they can be air-fried or oven-baked with excellent results. However you cook them, they’re always crispy, always delicious.
Ready for the details? Let’s go over what you’ll need.
What You’ll Need
To make these crispy fried chicken tenders shine, you only need a few kitchen staples — nothing fancy, just quality ingredients that pack a punch in flavor and texture. Here’s everything you’ll need:
For the Chicken Tenders:
- 1 ½ pounds chicken tenders (or boneless chicken breasts cut into strips)
- 1 cup buttermilk (for tenderizing and flavor)
- 1 teaspoon hot sauce (optional, for a kick)
- 1 teaspoon garlic powder
- 1 teaspoon onion powder
- ½ teaspoon paprika
- ½ teaspoon salt
- ½ teaspoon black pepper
For the Coating:
- 1 ½ cups all-purpose flour
- ½ cup cornstarch (for extra crunch)
- 1 teaspoon baking powder (helps create a light, crispy crust)
- 1 teaspoon paprika
- 1 teaspoon garlic powder
- ½ teaspoon cayenne pepper (adjust to taste)
- 1 teaspoon salt
- ½ teaspoon black pepper
For Frying:
- Oil for frying (vegetable, peanut, or canola oil work best)
That’s it — all straightforward, no hard-to-find ingredients. If you’re cooking for kids or want a milder flavor, you can skip the cayenne and hot sauce. Want more heat? Add a dash more. These tenders are all about making them yours.
How to Make crispy fried chicken tenders
This process is easy to follow and delivers ultra-crispy, flavorful tenders every time. Here’s the step-by-step breakdown:
1. Marinate the Chicken
In a large bowl, combine the buttermilk, hot sauce (if using), garlic powder, onion powder, paprika, salt, and pepper. Add the chicken tenders, making sure they’re fully coated. Cover and refrigerate for at least 1 hour, or up to overnight for extra flavor and tenderness.
2. Prepare the Coating
In another bowl, mix the flour, cornstarch, baking powder, paprika, garlic powder, cayenne, salt, and pepper. This blend gives the tenders their signature crunch.
3. Dredge the Chicken
Remove the chicken from the marinade (let the excess drip off), then dredge each piece in the flour mixture. Press the coating onto the chicken to help it stick. For an even crispier crust, double dip: back into the buttermilk, then into the flour again.
4. Heat the Oil
In a large, deep skillet or pot, heat about 2 inches of oil to 350°F (175°C). Use a thermometer to keep the temperature steady — too hot and the crust burns; too cool and the tenders get greasy.
5. Fry in Batches
Fry 3–4 tenders at a time, about 4–5 minutes per side, or until golden brown and cooked through (internal temp of 165°F). Don’t overcrowd the pan — it drops the oil temp and makes them soggy.
6. Drain and Rest
Transfer the cooked tenders to a wire rack or paper towel-lined plate. Let them rest a few minutes before serving to lock in the juiciness.
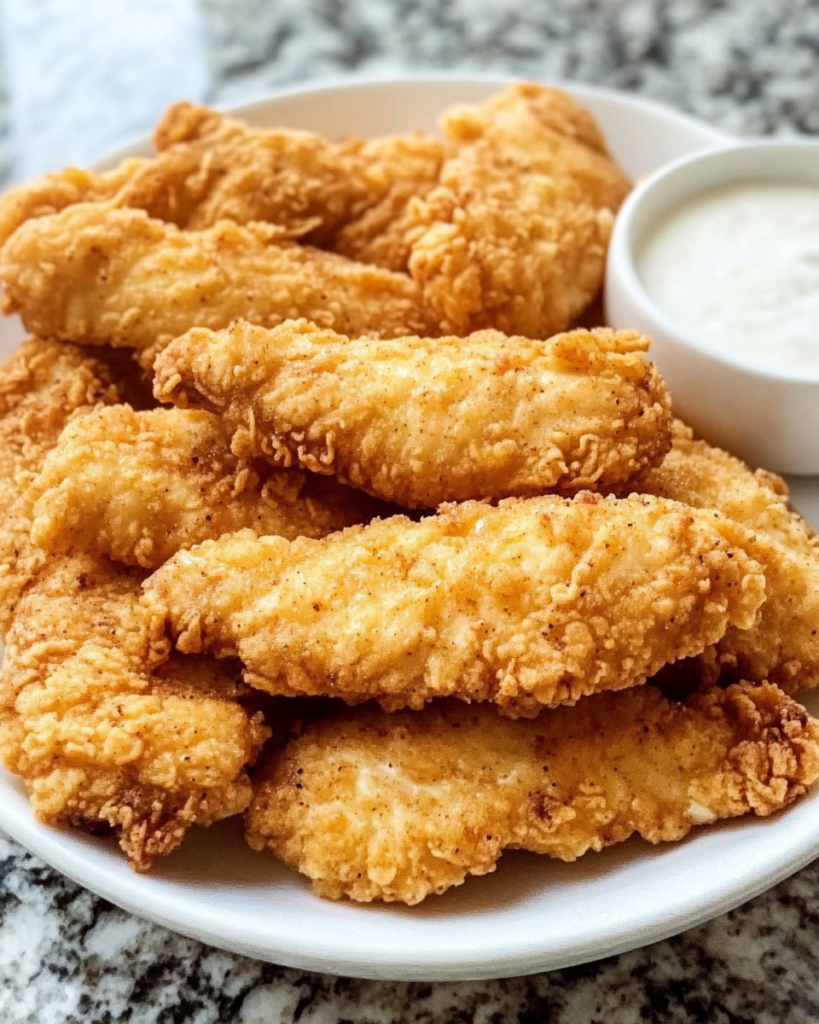
Now you’ve got yourself a batch of homemade crispy chicken tenders that taste like they came straight from your favorite diner.
You Must Know
Before you dive into frying up a batch of crispy chicken tenders, there are a few key things every home cook should know. These are the golden nuggets that can make or break your dish — and trust us, they’re worth paying attention to.
1. Buttermilk is Your Best Friend
Buttermilk does more than just flavor the chicken — it’s a natural tenderizer. The slight acidity breaks down the proteins in the chicken, giving you that juicy, melt-in-your-mouth texture. Don’t skip it! If you don’t have any on hand, you can DIY it by mixing 1 cup of milk with 1 tablespoon of lemon juice or vinegar and letting it sit for 5–10 minutes.
2. Let It Marinate
While it might be tempting to rush the process, marinating the chicken for at least 1 hour (or up to 24 hours) is essential. The longer it soaks, the more flavorful and tender your chicken becomes.
3. The Secret’s in the Coating
Cornstarch is the secret weapon in the coating mixture. It gives the crust a lighter, crispier texture compared to using flour alone. Don’t leave it out! And make sure your flour mix is well-seasoned — this is where a lot of the flavor comes from.
4. Temperature Matters
Oil temperature is critical. If it’s too hot, the outside will burn before the inside cooks. Too cold, and you’ll end up with greasy, soggy tenders. Keep your oil at a steady 350°F and use a thermometer if possible — it makes a huge difference.
5. Don’t Overcrowd the Pan
When frying, work in small batches. Adding too much chicken at once drops the oil temperature and messes with the crisp factor. Give your tenders room to cook — your patience will pay off.
6. Drain the Right Way
Once they’re done, always place your fried chicken on a wire rack rather than a paper towel. This helps the crust stay crispy while draining excess oil. Paper towels can make the bottom soggy if the tenders sit too long.
These aren’t just tips — they’re the fundamentals that elevate good chicken tenders to great. Keep them in mind, and you’ll be golden (literally).
Perfecting the Cooking Process
Cooking crispy chicken tenders isn’t just about the recipe — it’s about technique. Let’s talk about how to take your tenders from decent to downright unforgettable with a few pro-level strategies.
1. Consistent Sizes for Even Cooking
Cut your chicken into evenly sized strips. This ensures they cook at the same rate and keeps you from ending up with some pieces overcooked and others underdone. Uniform size = uniform doneness.
2. Use the Double-Dip Method
Want maximum crunch? Dip the chicken in the buttermilk, then the flour mix, then repeat the process. This second coating layer helps form those satisfying little craggy bits on the surface that get extra crispy when fried.
3. Rest Before Frying
Let the coated chicken sit for 10–15 minutes before frying. This allows the flour coating to bond to the surface better, which means it’s less likely to flake off in the oil — and more likely to stay nice and crispy.
4. Use the Right Oil
Stick to neutral oils with high smoke points like vegetable, peanut, or canola oil. Olive oil and butter burn too quickly and can affect both flavor and texture. Make sure your oil is clean and not reused from other fried dishes.
5. Keep That Oil Temp Steady
Don’t guess — use a kitchen thermometer if you can. A stable 350°F is ideal. If the oil drops below 325°F, your tenders will absorb too much grease. If it spikes above 375°F, the crust might burn before the chicken cooks through.
6. Cook Until Golden & Juicy
It usually takes 4–5 minutes per side, but go by color and internal temp. The crust should be a rich golden brown, and the chicken should reach 165°F inside. Use a meat thermometer for accuracy.
7. Rest After Frying
Resting on a wire rack for a few minutes post-fry helps the juices redistribute and keeps the coating from getting soggy. It also gives your chicken that beautiful finishing crunch when you bite in.
These techniques make a world of difference — even if you’re following the same recipe. Nail the process, and you’ll have chicken tenders that rival any restaurant’s.
Add Your Touch for crispy fried chicken tenders
One of the best things about this fried chicken tenders recipe? You can make it yours. With just a few tweaks, you can tailor the flavor to fit your style, your mood, or whatever’s in your pantry. Whether you’re craving something bold, something sweet, or something with a little international flair, this is your canvas.
1. Spice It Up
Like a little heat? Add more cayenne to the flour mix, or toss in chili powder, smoked paprika, or crushed red pepper flakes. A dash of hot sauce in the buttermilk marinade goes a long way, too. For serious heat lovers, try a spicy dipping sauce like chipotle mayo or Sriracha-honey.
2. Go Garlic-Lover’s Mode
Double down on garlic powder or even mix minced fresh garlic into your marinade. Want a real kick? Add roasted garlic to your dipping sauce for depth.
3. Add Herbs & Zest
Chopped fresh herbs like parsley, thyme, or rosemary can be mixed into the flour or sprinkled over the finished tenders. A little lemon zest added to the coating or squeezed on top before serving adds brightness and contrast to the crispy richness.
4. Southern-Inspired Twist
For that true Southern-style finish, brush the tenders with a bit of melted butter and honey after frying. It adds a subtle sweetness that pairs beautifully with the savory coating.
5. Go Global
Want an international vibe? Add curry powder, turmeric, or garam masala to the flour for an Indian-inspired take. Craving something Asian-inspired? Swap garlic powder for a touch of five-spice or ginger, and serve with a sweet chili dipping sauce.
6. Sauce It Right
Homemade or store-bought, sauces are the sidekick to your tenders. Try:
- Classic ranch or honey mustard
- BBQ sauce with a splash of pineapple juice
- Greek yogurt + lemon + dill for a tangy twist
There’s no wrong way to customize — make it fun, make it flavorful, and make it yours. Fried chicken tenders are the perfect blank slate for flavor creativity.
Storing & Reheating for crispy fried chicken tenders
Got leftovers? Lucky you. Fried chicken tenders store and reheat surprisingly well — if you do it right. Here’s how to keep them crispy and delicious, even after a night in the fridge.
How to Store Them
- Let them cool completely before storing — sealing them up while warm will trap steam and turn that crispy crust soggy.
- Place tenders in an airtight container layered between paper towels to absorb any residual moisture.
- Store in the refrigerator for up to 3–4 days.
If you’re planning to freeze them:
- Arrange the tenders in a single layer on a baking sheet and freeze until solid (about 1–2 hours), then transfer to a freezer-safe zip-top bag.
- They’ll keep well for up to 2 months — great for quick meals later.
How to Reheat Without Losing the Crunch
Skip the microwave unless you’re in a major rush. Here are better ways to reheat them:
For another cozy kitchen creation, click here.
1. Oven Method
- Preheat your oven to 375°F.
- Place tenders on a baking sheet lined with parchment or a wire rack.
- Heat for 10–15 minutes, flipping halfway through, until hot and crispy.
2. Air Fryer Method
- Preheat to 375°F.
- Place tenders in the basket in a single layer.
- Air fry for 5–8 minutes, or until hot and re-crisped.
3. Skillet Method
- Heat a small amount of oil in a skillet over medium heat.
- Add tenders and cook for 2–3 minutes per side until warmed through and crunchy.
Avoid This Mistake
Never store them with sauces already applied — that’s a recipe for sogginess. Always store sauces separately and apply fresh when serving.
With the right storage and reheating, these tenders taste just as good the next day — maybe even better after the flavors have had time to settle.
Chef’s Helpful Tips for crispy fried chicken tenders
You don’t need to be a culinary pro to make amazing chicken tenders, but a few insider moves can really level up your results. These chef-tested tips are here to help you get maximum flavor, crunch, and juiciness every single time.
Want a quick and tasty meal idea? This one’s a hit.
1. Don’t Skip the Cornstarch
You’ve heard it before, but it’s worth repeating — cornstarch is a game changer. It gives the crust that light, airy crunch that regular flour alone can’t match. Even just a 1:3 ratio of cornstarch to flour makes a huge difference in texture.
2. Use a Food Thermometer
Guessing oil temperature leads to burnt outsides or undercooked insides. A kitchen thermometer keeps things at that magic 350°F mark. Likewise, a meat thermometer helps ensure the chicken is cooked to a safe 165°F — juicy and safe every time.
3. Rest the Coated Chicken
Letting the dredged chicken sit for 10–15 minutes before frying helps the coating adhere better. It prevents that annoying flaking where parts of the crust fall off in the oil. It’s a small step with big payoff.
4. Fry in Batches
Overcrowding the pan cools the oil and ruins that crispy crust. Fry in small batches and let the oil return to temp between rounds. If needed, keep cooked tenders warm in a 200°F oven while you finish the rest.
5. Use a Wire Rack
After frying, skip the paper towels and place tenders on a wire rack over a sheet pan. This prevents steam from softening the crust and keeps your tenders perfectly crisp until serving.
6. Adjust to Your Crowd
Cooking for kids? Dial back the spice. Feeding adults who love heat? Crank it up. The base recipe is super flexible, so tweak the flavors to match your crew’s taste buds.
7. Make Extra — Seriously
These tenders go fast. Make a double batch if you’re feeding a group or want leftovers. They reheat beautifully (see our last section), and you’ll be glad to have extras for salads, wraps, or late-night snacking.
Little tips, big difference. Master these and your fried chicken game will be untouchable.
FAQ
Here are answers to the most common questions people have about making crispy chicken tenders — no second-guessing necessary!
Can I use chicken breasts instead of tenders?
Yes! Simply slice boneless, skinless chicken breasts into uniform strips. Just make sure they’re not too thick, so they cook evenly and stay tenders
How do I make them gluten-free?
Use a gluten-free flour blend and replace cornstarch with either rice flour or potato starch. Double-check that all your seasonings and buttermilk alternatives are also gluten-free.
Can I bake these instead of frying?
Absolutely. They won’t be quite as crispy, but they’re still delicious. Spray both sides with cooking oil and bake at 425°F on a wire rack over a sheet pan for 20–25 minutes, flipping halfway through.
Can I air-fry them?
Yes! Preheat your air fryer to 375°F, spray the tenders with oil, and cook for 8–10 minutes, flipping halfway. This is a great lower-oil alternative that still gives good crunch.
How long can I marinate the chicken?
Ideally, 4 to 8 hours for maximum flavor. You can go overnight if needed, but avoid going over 24 hours — the acidity in the buttermilk can start to break down the texture too much.
Looking for more comfort food favorites? Check this one out.
What’s the best oil for frying?
Use oils with high smoke points like canola, peanut, or vegetable oil. Avoid olive oil or anything flavored, which can burn or change the taste.
What if I don’t have buttermilk?
No problem — mix 1 cup of milk with 1 tablespoon of lemon juice or vinegar. Let it sit for 5–10 minutes, and you’ve got a homemade buttermilk substitute.
Why is my coating falling off?
This usually happens if you skip the resting time before frying or if the oil isn’t hot enough. Make sure your dredged chicken sits for a bit, and always fry at 350°F.
Conclusion
Crispy fried chicken tenders are more than just a quick dinner — they’re a comfort food classic that never goes out of style. With the right blend of seasoning, a buttermilk marinade, and a crispy golden coating, you’re not just making chicken… you’re creating something crave-worthy.
This recipe gives you the tools to make tenders that are juicy on the inside, crunchy on the outside, and absolutely packed with flavor. Whether you’re keeping it simple or adding your own twist, this dish delivers every time — no deep fryer required.
So go ahead — make a batch for your next family night, game day spread, or quick lunch with a side of fries. Customize it, save your leftovers like a pro, and don’t forget to serve them with your favorite sauces.
Once you try these, you’ll never look at store-bought tenders the same way again. Trust us — your kitchen just became everyone’s favorite chicken joint.
Easy Buttermilk Chicken Tenders – Crispy, Golden, and Delicious
Description
Golden, crispy, and juicy — these homemade fried chicken tenders are easy to make, packed with flavor, and perfect for any occasion.
Ingredients
1½ lbs chicken tenders
1 cup buttermilk
1 tsp garlic powder
1 tsp paprika
1½ cups all-purpose flour
½ cup cornstarch
Salt & pepper to taste
Oil for frying
Instructions
Marinate: Combine buttermilk, garlic powder, paprika, salt, and pepper. Soak chicken for at least 1 hour.
Coat: Mix flour, cornstarch, and spices. Dredge chicken in mixture. Optional: double dip for extra crisp.
Heat Oil: Heat to 350°F in a deep pan.
Fry: Cook tenders in batches, 4–5 mins per side, until golden and internal temp hits 165°F.
Rest: Drain on wire rack for 5 mins before serving. Enjoy!
Notes
- For extra flavor, add a few drops of hot sauce to the marinade.
Want less mess? Use a zip-top bag for dredging.
Don’t overcrowd the pan—fry in small batches to keep the oil temperature steady.
Pairs great with honey mustard, BBQ sauce, or ranch.